A new air conditioner should make your home quieter, drier, and consistently comfortable – not create surprise repair bills or uneven temperatures a year later. This central air installation guide explains what a proper installation involves, what decisions affect performance, and how to prepare for an estimate with confidence.
Start With the Right System, Not the Biggest One
Central air installation is more than placing an outdoor unit beside the house. The system has to match the home’s cooling needs, existing ductwork, electrical capacity, thermostat controls, and indoor equipment. When one part is overlooked, even a high-efficiency air conditioner can waste energy or struggle to keep rooms comfortable.
The first major decision is system size. Many homeowners assume a larger unit will cool better. In practice, an oversized air conditioner can cool the air too quickly and shut off before it removes enough humidity. That short cycling can leave the home feeling clammy, increase wear on components, and create temperature swings.
An undersized system has the opposite problem. It may run for long periods during hot weather without reaching the thermostat setting. Proper sizing considers square footage, insulation, window exposure, ceiling height, air leakage, occupancy, and local summer conditions. A professional load calculation is far more dependable than choosing equipment based only on the size of the old unit or a neighbor’s home.
Efficiency matters, but it should be considered alongside the installation itself. A higher SEER2 rating can reduce operating costs, particularly when replacing an older system, but the best choice depends on your budget, expected time in the home, and how well the ductwork performs. A correctly installed mid-efficiency unit often delivers better real-world comfort than a premium unit connected to leaking or poorly sized ducts.
What a Central Air Installation Includes
A complete central air system has an outdoor condenser, an indoor evaporator coil, refrigerant lines, electrical connections, a condensate drain, and controls that tell the system when to run. In homes with forced-air heating, the evaporator coil is commonly installed above or beside the furnace. The furnace blower then moves cooled air through the ducts.
If your furnace is aging or has an incompatible blower, replacing the air conditioner alone may not be the best long-term value. A new AC unit can sometimes be paired with existing heating equipment, but the indoor coil, blower capacity, cabinet fit, and controls must be compatible. Combining mismatched components may limit efficiency and affect warranty coverage.
The outdoor unit location also deserves attention. It needs adequate clearance for airflow and service access, a stable level pad, and protection from water runoff or roof debris. Hiding it in a tight enclosure may look tidy, but restricted airflow forces the system to work harder. The goal is a location that is practical, accessible, and compliant with applicable local requirements.
Ductwork Can Make or Break Comfort
Ductwork is often the hidden reason a home has hot upstairs bedrooms, weak airflow, or noisy vents. Before installation, the contractor should evaluate supply and return ducts, not simply connect a new unit to what is already there.
Leaky ducts can send conditioned air into attics, basements, crawl spaces, or wall cavities instead of living areas. Undersized return ducts may starve the equipment for airflow, while poorly balanced supply runs can leave some rooms cold and others warm. Sealing, resizing, adding returns, or balancing airflow may add to the initial project cost, but it can solve comfort issues that a larger air conditioner never will.
For homes without ductwork, central air may still be possible, but the project becomes more involved. New ducts must be planned around available space and room-by-room airflow needs. In some cases, a ductless heat pump or ductless air conditioner is the more practical option, especially for additions, older homes, or spaces where duct installation would be disruptive.
Electrical, Drainage, and Refrigerant Work Must Be Done Correctly
The visible parts of an installation are only part of the job. Safe, code-compliant electrical and refrigerant work protects the equipment, the home, and the people inside it.
Central air systems require a dedicated electrical circuit and an outdoor disconnect. Depending on the equipment and the home’s existing electrical panel, an upgrade may be needed. A qualified installer will verify electrical capacity rather than assuming the current setup can support the new system.
The evaporator coil also produces condensation while removing humidity. That water needs a properly pitched, trapped, and tested drain route. A blocked or poorly installed condensate line can lead to leaks, ceiling damage, mold concerns, or emergency service calls. Where a gravity drain is not possible, a correctly installed condensate pump may be required.
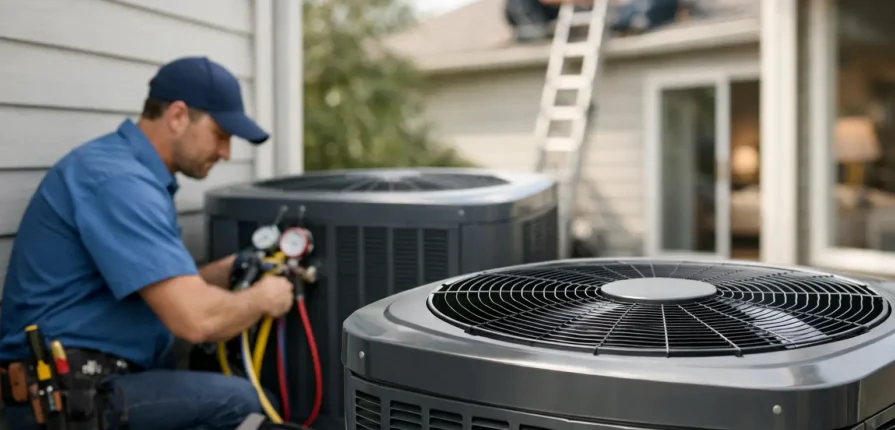
Refrigerant lines need careful sizing, insulation, pressure testing, evacuation, and charging according to the manufacturer’s specifications. Too much or too little refrigerant can reduce efficiency and shorten compressor life. This is not a shortcut area. Proper commissioning takes time, specialized tools, and trained technicians.
Permits and Professional Installation Are Worth Planning For
Permit requirements vary by municipality and by the scope of electrical or mechanical work. A reputable HVAC contractor should explain which permits or inspections apply to your project and handle the work in accordance with local code requirements.
Choosing the lowest quote can be tempting, particularly when a system fails during a heat wave. But a quote that leaves out electrical changes, duct corrections, line-set replacement, condensate drainage, permit costs, startup testing, or equipment registration may not be a true apples-to-apples comparison.
Ask what is included before approving the work. A clear estimate should identify the equipment being installed, the scope of labor, expected duct or electrical work, warranty details, and any conditions that could affect the final price. If a contractor cannot explain the installation plan in plain language, that is a reason to pause.
A Practical Central Air Installation Timeline
Most straightforward replacement projects can be completed in a day, while more complex installations involving ductwork, electrical upgrades, or equipment relocation may take longer. The process usually starts with an in-home assessment and equipment recommendation, followed by scheduling, permits when required, and installation day.
On installation day, technicians remove the old equipment, prepare the indoor and outdoor locations, install the new components, connect refrigerant and electrical lines, and test drainage and airflow. The final stage is commissioning. This is when the team verifies operating pressures, temperature difference, thermostat operation, blower settings, safety controls, and overall system performance.
Do not treat the startup test as a formality. It is the point where installation details become measurable results. A system should be checked in cooling mode, and the homeowner should understand how to operate the thermostat, replace filters, keep outdoor clearance open, and recognize signs that service is needed.
How to Prepare Your Home Before Installation
A little preparation helps the project move faster and protects your home. Clear access to the furnace or air handler, electrical panel, thermostat, and outdoor unit area. Move stored items away from utility spaces and make arrangements for pets, since doors may be opened frequently and equipment can be noisy.
It also helps to write down the comfort problems you want solved. Mention rooms that stay warm, humidity concerns, loud airflow, dust buildup, or high utility bills. These details help the contractor look beyond equipment replacement and recommend improvements that address the cause.
After installation, schedule regular maintenance. A clean filter, clear outdoor coil, properly operating drain, and seasonal inspection help preserve efficiency and reduce the chance of a midsummer breakdown. Maintenance is especially valuable for systems that run heavily during long hot spells or serve rental and light commercial properties.
When It Is Time to Request an Estimate
If your current AC is more than 10 to 15 years old, needs frequent repairs, uses an older refrigerant, runs constantly, or no longer cools evenly, it may be time to compare repair and replacement costs. There is no single answer for every home. A relatively minor repair can make sense on a newer, dependable unit, while repeated major repairs on an aging system often point toward replacement.
For homeowners and property managers who want clear recommendations, Airmaxx Heating & Air Conditioning can assess the full system – equipment, ducts, controls, electrical needs, and installation conditions – before recommending a path forward. Ask for a detailed estimate, confirm the scope of work, and choose an installer who treats your comfort and safety as part of the job, not an add-on.